Installing new tile is one of the best ways to elevate a room’s look, but achieving that flawless, balanced appearance takes more than just choosing the right material. Professional installers know that great results start with great planning — and that means creating a precise tile layout before installation begins.
At Atlanta Tile Install, we believe every successful project starts with smart design and careful preparation. Whether you’re tiling a kitchen backsplash, bathroom floor, or entire living area, understanding how to plan your layout like a pro can make all the difference.
Why Tile Layout Planning Matters
Tile layout is more than aesthetics — it affects functionality, material usage, and installation time. A well-planned layout prevents uneven cuts, awkward grout lines, and misaligned patterns.
Proper planning ensures:
- Straight, symmetrical grout lines
- Minimal waste of materials
- Balanced cuts at edges and corners
- Smooth transitions between rooms
- A visually pleasing, professional finish
Without layout planning, even expensive tiles can look amateurish once installed.
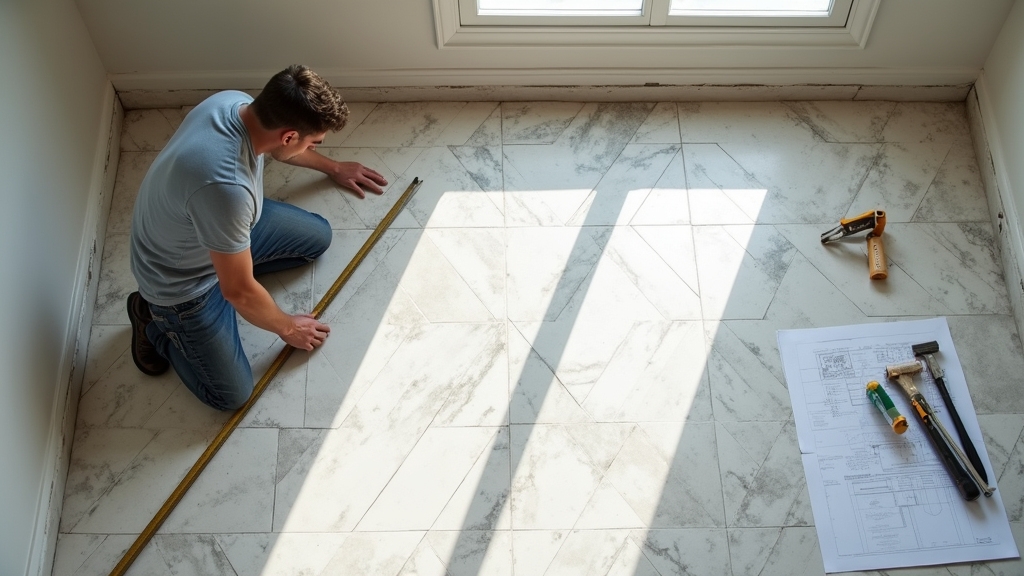
Step 1: Measure the Room Accurately
The first step in planning a tile layout is to measure your space precisely. Record both length and width of the floor or wall and note any alcoves, corners, or irregularities.
Use these measurements to calculate total square footage. Always add 10–15% extra to account for waste, cuts, or pattern alignment.
| Area | Measurement Example (ft) | Tile Size (in) | Total Tiles Needed (with 10% Waste) |
| Kitchen Floor | 12 × 10 | 12 × 12 | 120 + 12 = 132 tiles |
| Bathroom Wall | 8 × 6 | 6 × 6 | 192 + 19 = 211 tiles |
| Entryway | 10 × 5 | 18 × 18 | 20 + 2 = 22 tiles |
Accurate measuring helps you estimate materials and identify where adjustments or cuts may occur.
Step 2: Choose Your Layout Pattern
Different tile patterns change the look and feel of a space. Some emphasize symmetry, while others create visual movement. Below are common layout options and their typical uses.
| Pattern | Description | Best For |
| Straight (Grid) | Tiles align evenly in rows and columns | Modern, clean designs |
| Diagonal | Tiles are turned 45° for visual interest | Small rooms (makes them appear larger) |
| Brick or Running Bond | Tiles offset by half each row | Subway tiles, rustic looks |
| Herringbone | V-shaped zigzag pattern | Floors or accent walls |
| Basketweave | Alternating vertical/horizontal rectangles | Classic, detailed styles |
| Versailles (French) | Mix of sizes in repeating pattern | Large floors, open layouts |
Selecting a layout pattern sets the tone for your entire space. For creative custom layouts, our custom tile design team can help design the perfect pattern for your home.
Step 3: Find the Center and Create Reference Lines
Every professional tile layout starts from a center point — not from a wall edge. This ensures the tile design looks balanced and symmetrical.
- Measure the midpoint of each wall and snap chalk lines that intersect at the room’s center.
- Use this intersection as your starting point for dry-laying (test fitting) your tiles.
- Adjust your layout to ensure cut tiles at the edges are at least half the tile’s width — full or near-full tiles look more professional than narrow strips.
For large rooms, it’s common to divide the space into four quadrants to maintain precision and balance as you work outward.
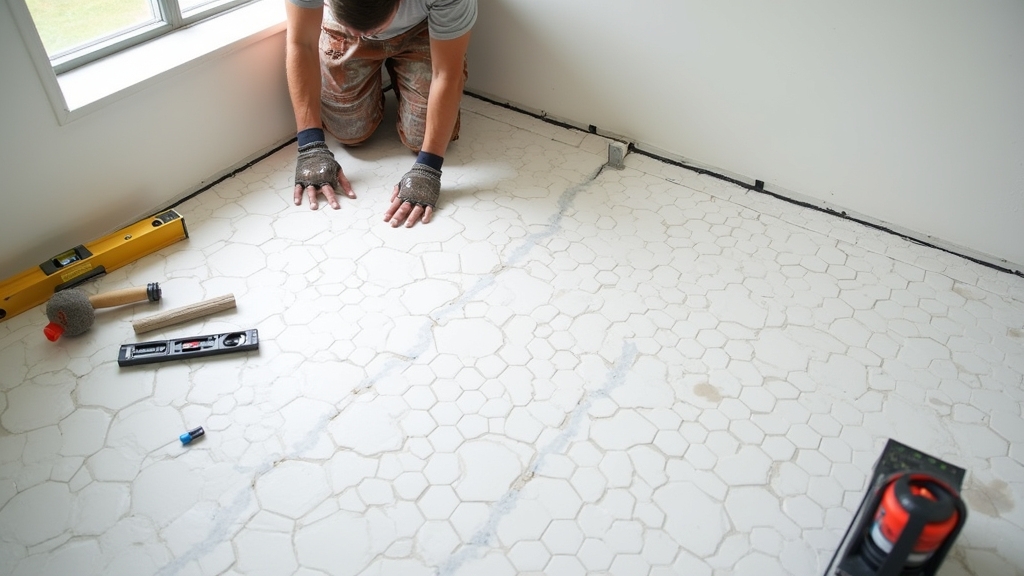
Step 4: Dry-Lay Your Tiles
Before applying any adhesive, dry-lay your tiles — place them on the surface temporarily to visualize how they’ll fit. This step helps confirm pattern alignment, spacing, and cut locations.
Check for:
- Proper alignment with your chalk lines
- Even grout spacing
- Balanced cuts at edges and transitions
Dry-laying also ensures that decorative or patterned tiles align properly before permanent installation begins. Our professionals at Atlanta Tile Install always dry-lay first to guarantee precision.
Step 5: Plan for Grout Lines
Grout spacing affects both aesthetics and tile movement. Standard grout lines range between 1/16″ to 3/8″, depending on the tile material and size.
| Tile Type | Recommended Grout Width | Appearance |
| Rectified Porcelain | 1/16″ | Clean, seamless look |
| Ceramic | 1/8″ | Balanced, traditional finish |
| Natural Stone | 3/16″ | Allows for movement and variation |
| Mosaic Tiles | 1/16″ or smaller | Tight, detailed layout |
A uniform grout width keeps your design cohesive and prevents uneven joints. Our flooring installation specialists use professional spacers and leveling systems to maintain consistent alignment.
Step 6: Plan Tile Cuts Strategically
Tile cuts are inevitable, but their placement can make or break your design.
Aim to position full tiles in the most visible areas — like the center of the floor or the middle of a backsplash — and use cut tiles along walls or behind fixtures.
For example:
- In a kitchen, align full tiles behind your sink or stove.
- In a bathroom, center full tiles on the shower wall or floor drain.
- Avoid having slivers (small cuts) at room edges; balance cuts evenly on both sides instead.
Our team ensures precise, clean cuts using advanced cutting equipment to deliver professional results every time.
Step 7: Account for Transitions and Fixtures
When transitioning between flooring types — such as tile to hardwood — plan where transitions will fall. Use trim pieces or transition strips for a smooth connection.
Also, consider obstacles like cabinets, doorways, and plumbing fixtures. Laying tiles around these features requires additional precision to maintain symmetry.
Our bathroom tile installation and kitchen tile installation services ensure these details are handled with accuracy and care.
Step 8: Verify with Professional Tools
Professional installers use a combination of laser levels, spacers, and layout grids to maintain straight lines and consistent gaps. These tools eliminate guesswork and guarantee accuracy throughout the project.
If you’re attempting a DIY layout, measure twice before cutting or adhering any tiles. Professionals, however, bring precision tools and years of experience that make the process seamless and mistake-free.
Tips for a Professional-Looking Tile Layout
- Always start from the center and work outward.
- Use consistent grout spacing across the entire layout.
- Double-check for squareness — even a small misalignment grows noticeable over distance.
- Dry-fit patterned tiles to ensure design continuity.
- Balance cuts on opposite walls for symmetry.
- Keep lighting direction in mind — shadows can exaggerate uneven joints.
These small adjustments make a big difference in the finished result.
Common Tile Layout Mistakes to Avoid
| Mistake | Result | How to Prevent It |
| Starting at the wall | Uneven edges and small cuts | Always start from the center |
| Ignoring grout spacing | Crooked joints | Use spacers and laser levels |
| Skipping dry layout | Misaligned patterns | Dry-fit before applying adhesive |
| Poor measurement | Running out of materials | Measure carefully and buy extra tiles |
| Not leveling subfloor | Uneven tiles and lippage | Ensure proper subfloor preparation |
Avoiding these mistakes ensures your tile layout looks as professional as it feels underfoot.
Final Thoughts: Plan First, Perfect Always
A flawless tile installation doesn’t start with mortar — it starts with a plan. Thoughtful layout planning transforms a simple tile project into a polished, high-end finish that complements your home’s design.
At Atlanta Tile Install, we bring expertise, precision, and artistry to every project. From custom tile design and flooring installation to bathroom and kitchen tile installation, our team ensures your layout is perfectly planned and beautifully executed.
Ready to create a tile layout that looks like it came straight from a design magazine? Contact us today or call (678) 981-6192 to schedule your free consultation with Atlanta’s tile installation experts.