You’ll need a wet saw with diamond blade, notched trowels, and proper safety equipment before starting your tile project. Begin by preparing your substrate with cement board for wet areas and self-leveling compound for uneven surfaces. Apply thin-set mortar at a 45-degree angle, place tiles with spacers, and maintain consistent pressure throughout. After 48-72 hours of curing, select appropriate grout based on your joint width and apply at a 45-degree angle. Master these foundational techniques to transform your space with professional-quality results.
Key Takeaways
- Gather essential tools including wet saw, notched trowels, level, spacers, and safety equipment before starting your tile project.
- Choose tile material based on location needs: porcelain for wet areas, ceramic for budget-friendly options, natural stone for aesthetics.
- Prepare substrate properly with cement board, self-leveling compound, and waterproofing membranes to ensure a stable, long-lasting installation.
- Apply thin-set mortar at 45-degree angle in small sections, place tiles with twisting motion, and maintain alignment every three tiles.
- Select appropriate grout type for joint width, allow proper curing time, and seal after 10-14 days for optimal durability.
Essential Tools and Materials You’ll Need Before Starting
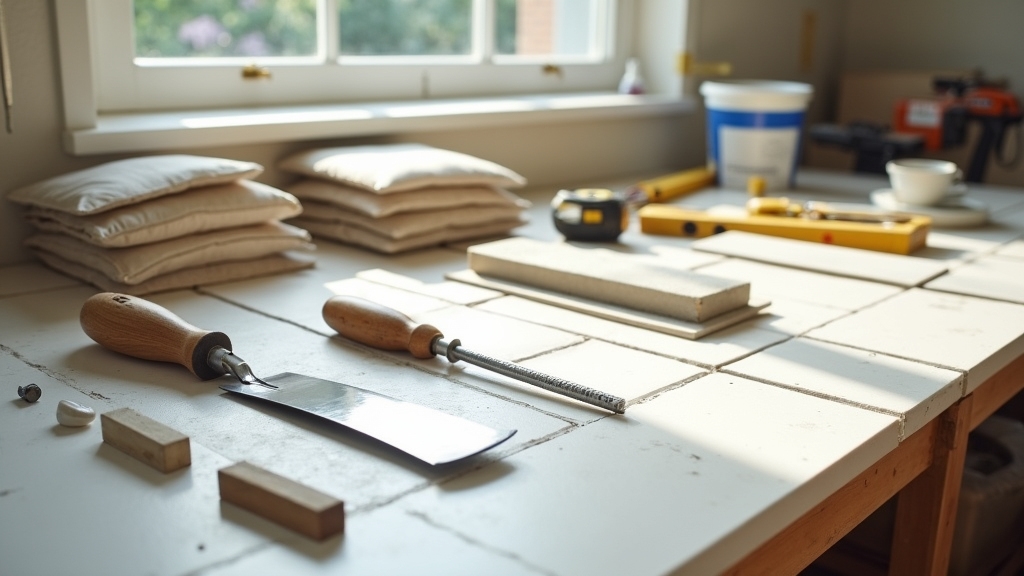
Successful tile installation depends on having the right equipment assembled before you begin.
Proper preparation with quality tools makes the difference between amateur attempts and professional-grade tile installation results.
You’ll need a wet saw with diamond blade for precise cuts across different tile types, ranging from ceramic to porcelain and natural stone. Acquire trowels in multiple sizes—particularly notched trowels matching your tile manufacturer’s specifications.
Essential measuring tools include a 4-foot level, chalk line, and tape measure for layout accuracy.
For installation safety, obtain knee pads, safety glasses, and dust masks rated N95 or higher. Stock tile spacers, grout float, rubber mallet, and sponges for finishing work.
Your adhesive selection—thin-set mortar or mastic—depends on substrate conditions and tile specifications. Include a grout saw, mixing paddle, and buckets for material preparation.
Professional results require proper tool investment upfront.
Choosing the Right Tile for Your Project and Budget
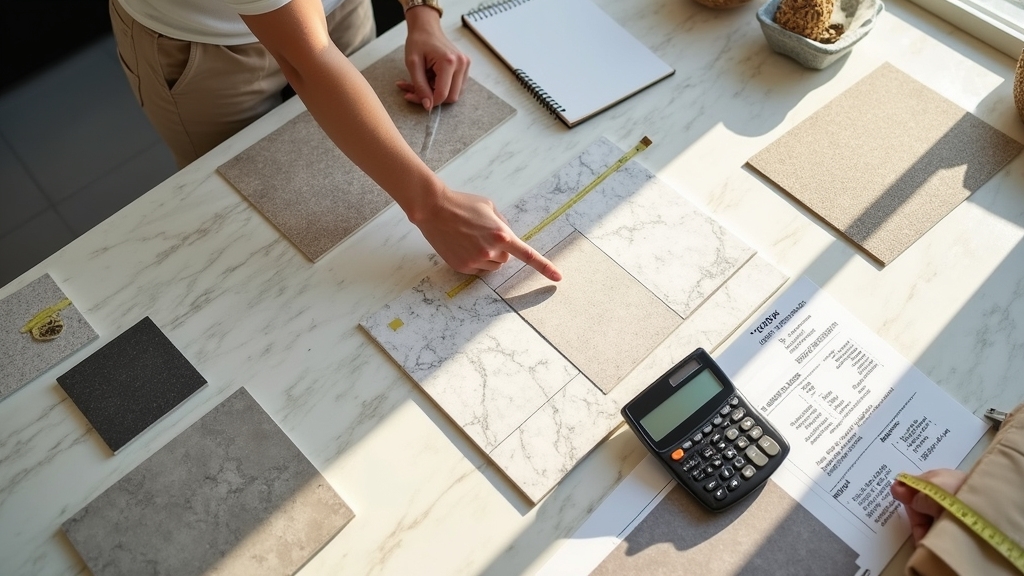
With your tools assembled, you’ll need to match tile specifications to your project’s functional requirements and financial parameters.
Evaluate tile material options systematically: porcelain offers superior water resistance and durability for high-traffic areas, while ceramic provides cost-effective coverage for standard residential applications. Natural stone delivers aesthetic distinction but demands specialized sealing and maintenance protocols.
Budget considerations extend beyond material costs. Calculate total square footage, adding 10-15% for cuts and breakage. Factor in substrate preparation, underlayment systems, adhesive specifications, and grout selection.
Porcelain typically costs $3-15 per square foot; ceramic ranges $1-8; natural stone spans $5-25+.
Match Porcelain Enamel Institute (PEI) ratings to anticipated wear patterns. Residential floors require PEI 3-4, while walls accept PEI 1-2. Verify coefficient of friction (COF) ratings for slip resistance in wet applications.
Surface Preparation: Creating the Perfect Foundation
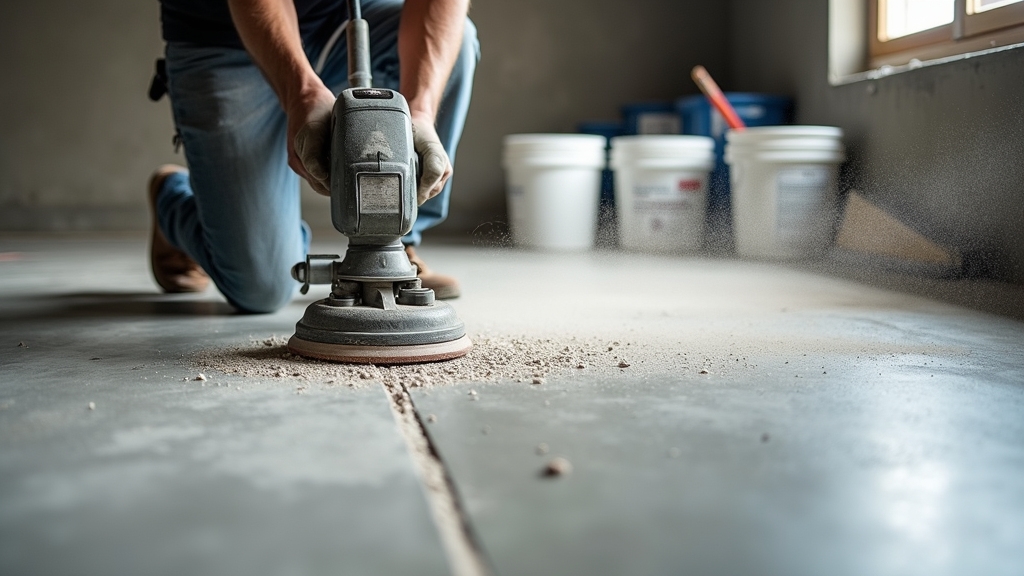
Before adhesive application begins, substrate integrity determines installation longevity more than any subsequent step. You’ll need to assess your existing surface for structural soundness, removing any compromised materials down to stable substrate.
Install appropriate underlayment systems—cement board for wet areas, uncoupling membranes where movement’s anticipated.
Proper underlayment selection—cement board for moisture exposure, uncoupling membranes for dynamic substrates—establishes the foundational system for long-term tile performance.
Surface leveling requires methodical attention. You’ll apply self-leveling compound to correct variations exceeding 1/8 inch over ten feet. Use a straightedge to identify low spots and valleys before application.
Once cured, verify flatness with your straightedge again.
Moisture control protocols vary by location. Install waterproofing membranes in shower enclosures and steam rooms. For below-grade installations, you’ll need vapor barriers to prevent hydrostatic pressure damage.
Prime all surfaces according to manufacturer specifications before proceeding with thinset application.
Planning Your Tile Layout and Pattern Design
Layout planning determines tile placement efficiency and aesthetic impact across your installation area.
You’ll execute tile placement strategies by establishing reference lines from your room’s center point, ensuring balanced borders and minimizing cuts.
Pattern variations require mathematical precision—calculate your square footage, then add 10% for waste factor.
Critical Layout Steps:
- Dry-lay your tiles without adhesive to identify problem areas, adjust spacing, and verify pattern alignment before commitment.
- Mark perpendicular chalk lines at room center, creating quadrants that guide symmetrical installation and maintain straight coursing.
- Test multiple pattern orientations—running bond, herringbone, or diagonal—to determine ideal visual flow and material efficiency.
You’re now ready to shift from planning to actual tile-setting operations, where proper adhesive application becomes paramount.
Step-by-Step Tile Installation Process
Before you set a single tile, you’ll need to guarantee your substrate is clean, level, and structurally sound—any dips, cracks, or debris will telegraph through and compromise your installation.
Apply thin-set mortar to the substrate using a notched trowel held at a 45-degree angle, working in small sections to prevent skinning over.
Place each tile firmly into the mortar bed with a slight twisting motion, inserting spacers at all four corners to maintain consistent grout joints throughout the layout.
Preparing the Surface Properly
Since tile longevity depends directly on substrate integrity, you’ll need to verify that your surface meets specific flatness tolerances before applying any adhesive.
Industry standards require maximum variations of 1/4″ over 10 feet for most installations. Execute a thorough surface irregularities assessment using a straightedge and feeler gauges.
Your preparation protocol must include:
- Conduct moisture testing techniques using calcium chloride tests or electronic meters—concrete shouldn’t exceed 5 pounds per 1,000 square feet per 24 hours.
- Remove contaminants through mechanical abrasion, eliminating paint, sealers, curing compounds, and efflorescence that compromise bond strength.
- Fill depressions and grind high spots with appropriate patching compounds, ensuring proper substrate plane.
Prime porous surfaces according to manufacturer specifications before proceeding with thin-set application.
Laying Tiles With Spacers
Proper tile placement begins with establishing reference lines that intersect at 90 degrees in your work area’s center—this creates four quadrants and guarantees symmetrical layout from the room’s focal point.
Apply thin-set mortar using a notched trowel, working one quadrant at a time. Press your first tile at the intersection point with a slight twisting motion. Insert tile spacer types—cross, T-shaped, or wedge—at each corner before setting adjacent tiles.
| Spacer Size | Application | Joint Integrity |
| 1/16″ | Rectified porcelain | Professional precision |
| 1/8″ | Standard ceramic | Balanced aesthetics |
| 3/16″ | Natural stone | Grout strength |
Follow these spacer installation tips: maintain consistent pressure, verify alignment with a straightedge every three tiles, and remove spacers before mortar skinning occurs—typically within 20 minutes.
Mastering Tile Cutting Techniques for Perfect Fits
Achieving professional-grade tile installations requires mastering three fundamental cutting methods: straight cuts, L-cuts, and curved cuts.
You’ll need to understand which tool delivers ideal results for each application.
Advanced Cutting Techniques by Tool Type:
1. Wet Saw Operations – Execute straight cuts with your fence positioned at precise measurements.
Maintain consistent feed pressure and allow the blade to do the cutting work.
2. Angle Grinder Applications – Deploy diamond blades for L-cuts and notching around obstacles.
You’ll achieve superior control on complex profiles.
3. Manual Snap Cutters – Score ceramic tiles in single passes, applying firm downward pressure at the breaking point.
Tile cutting safety demands protective eyewear, dust masks, and hearing protection.
Always secure your workpiece before cutting, and keep your hands clear of blade paths.
Grouting Your Tile Like a Professional
After you’ve cut and laid your tiles, proper grouting determines the longevity and appearance of your installation.
You’ll need to select the appropriate grout type for your joint width and tile material, mix it to the correct consistency, and apply it using systematic techniques.
Understanding mixing ratios, working times, and curing requirements guarantees you’ll achieve professional-grade results that resist cracking and moisture penetration.
Choosing the Right Grout
Why does grout selection matter as much as the tile itself? Your grout choice directly impacts durability, maintenance requirements, and aesthetic cohesion.
Understanding grout types and grout color fundamentals guarantees professional results.
Primary Grout Types:
1. Cement-based grout – Standard applications requiring sanded (joints >1/8″) or unsanded (joints <1/8″) varieties.
Mix with latex additives for enhanced water resistance and flexibility.
2. Epoxy grout – Superior stain resistance and waterproofing for commercial-grade installations.
Requires precise mixing ratios and accelerated working times.
3. Urethane grout – Pre-mixed, flexible alternative offering excellent stain resistance without epoxy’s complexity.
Match your grout color strategically: contrasting shades emphasize tile geometry, while complementary tones create seamless visual flow.
Test samples against installed tile under ambient lighting conditions before committing to full-scale application.
Proper Mixing and Application
Once you’ve selected your grout, execution determines whether your installation achieves professional standards or requires costly remediation. Mastering mixing techniques begins with precise water-to-powder ratios—typically 16:1 by weight. Add powder to water gradually while mixing at 300 RPM using a low-speed drill attachment. Allow slaking time of 10 minutes, then remix without additional water.
| Application Phase | Critical Parameters |
| Initial Pass | 45-degree angle, full joint penetration |
| Excess Removal | Diagonal sweeps using firm pressure |
| Initial Cleanup | Damp sponge, minimal water, diagonal motion |
| Final Buffing | Dry microfiber cloth after haze formation |
Application tips: Work in 10-square-foot sections, maintaining consistent joint compression. Complete tooling within 20 minutes of application. Temperature and humidity greatly affect setup times—adjust working speed accordingly.
Sealing and Curing Time
While proper application establishes your grout’s structural integrity, inadequate curing will compromise even perfectly executed installations. You’ll need to understand ideal curing duration before implementing sealing techniques.
Critical Timeline Parameters:
- Initial Cure Period – Allow cement-based grout 48-72 hours minimum before foot traffic; epoxy formulations require 24 hours at 70°F ambient temperature.
- Pre-Seal Curing Duration – Wait 10-14 days for complete moisture evaporation from cement-based joints before applying penetrating sealers; premature sealing traps residual moisture, causing efflorescence and bond failure.
- Sealing Techniques Application – Use foam applicators for precision control, applying thin coats along grout lines while avoiding tile faces; remove excess immediately with microfiber cloths to prevent hazing.
Maintain 50-70% relative humidity during curing to prevent rapid moisture loss and subsequent microcracking.
Sealing and Finishing Touches for Long-Lasting Results
After completing the grout application, you’ll need to protect your tile installation with proper sealing to prevent moisture infiltration, staining, and premature deterioration.
Professional sealing techniques require applying penetrating sealers to natural stone and porous ceramic tiles using a microfiber applicator or foam brush, ensuring complete saturation without pooling. You’ll achieve ideal protection by applying two thin coats rather than one thick application.
For finishing options, consider topical sealers for high-gloss surfaces or impregnating sealers for matte finishes.
Remove excess sealer immediately with lint-free cloths to prevent hazing. Install transition strips, bullnose edges, or schluter profiles where tile meets other flooring materials.
Apply silicone caulk along perimeter expansion joints and fixture interfaces. Allow seventy-two hours curing time before exposing surfaces to moisture or foot traffic.
Common Mistakes to Avoid and Troubleshooting Tips
Even experienced installers encounter challenges that compromise tile integrity, necessitating systematic identification and correction of installation defects.
Understanding common installation errors enables you to implement effective troubleshooting tips before problems escalate.
Early identification of installation defects allows for systematic correction before minor issues develop into costly structural failures requiring complete tile removal.
Critical Issues Requiring Immediate Attention:
- Lippage and uneven surfaces: You’ll need to verify trowel notch size matches tile dimensions and maintain consistent mortar coverage exceeding 95% to prevent hollow spots.
- Grout haze and efflorescence: Remove residue using pH-neutral cleaners within 72 hours, then address moisture penetration through inadequate waterproofing membranes.
- Cracking and debonding: Diagnose substrate deflection issues, expansion joint placement, and curing time violations that cause catastrophic failures.
Document each correction methodically, ensuring your installation meets TCNA Handbook specifications and manufacturer warranties remain valid throughout the tile’s service life.
Frequently Asked Questions
Can I Install Tile Over Existing Tile Without Removing It First?
You can install tile over existing tile if it’s sound and level. First, guarantee proper tile preparation by roughening the glazed surface with 80-grit sandpaper. Then, you’ll need modified thin-set adhesive types specifically formulated for tile-over-tile applications.
How Long Should I Wait Before Walking on Newly Installed Tile?
You’ll need to observe strict walking restrictions for 24-72 hours after installation, depending on your mortar type. Tile curing time varies by adhesive—thin-set requires 24 hours minimum, while mastic needs 72 hours before permitting foot traffic.
What’s the Average Cost per Square Foot for Professional Tile Installation?
You’ll pay $5-$15 per square foot for professional tile installation costs, with labor expenses typically comprising 60-70% of total project costs. Material complexity, substrate preparation requirements, and regional market rates considerably influence your final installation investment.
Do I Need a Permit to Install Tile in My Bathroom?
You’ll typically need a permit for bathroom renovations involving plumbing or structural modifications, but simple tile replacement over existing surfaces usually doesn’t require one. Always verify local regulations with your building department before starting work.
Can Heated Flooring Systems Be Installed Underneath Tile Floors?
Yes, you’ll install radiant heated flooring systems beneath tile using either electric mat or hydronic loop installation techniques. Heated flooring benefits include consistent warmth distribution, energy efficiency, and enhanced comfort when you’re selecting appropriate thermal break materials.
Final Thoughts
You’ve now mastered the core principles of professional tile installation — from precise surface preparation and layout planning to accurate cutting, grouting, and sealing. By following each phase methodically and maintaining attention to detail, you can achieve a flawless, long-lasting finish that transforms your home’s aesthetics and functionality.
However, even with the right knowledge and tools, achieving perfect alignment, clean grout lines, and watertight seals requires years of hands-on experience. If you want your next tile project to meet true professional standards, trust the experts at Atlanta Tile Installer.
Whether you need bathroom tile installation, custom tile design, or specialized work such as kitchen backsplashes, fireplace tile, or flooring installation — our skilled team delivers durable, stunning results that elevate every space.
Ready to bring your vision to life? Contact Atlanta Tile Installer today for a free consultation or visit our About page to learn more about our craftsmanship, service areas, and commitment to excellence across Atlanta, Lawrenceville, Johns Creek, and Sandy Springs.