
When considering floor tile installation, you’ll quickly realize that the timeline can vary widely based on several factors. It’s not just about the size of the area; the type of tile and the complexity of the layout also play essential roles. Plus, if your subfloor isn’t ready, you could face additional delays. So, how do you guarantee a smooth process and avoid unexpected setbacks? Let’s explore the key elements that influence installation time.
Key Takeaways
- Installation time varies based on room size, with small areas taking about a day and larger spaces potentially requiring several days.
- Material type affects duration; ceramic tiles install faster than porcelain, while larger tiles reduce the number of grout lines and speed up the process.
- Complex layouts, such as herringbone patterns, take longer to install than straightforward grid designs due to the need for precise measurements and cuts.
- Initial assessment and floor preparation can take 1-2 days, followed by installation, grouting, and a curing period of approximately 72 hours.
- Delays may occur due to subfloor issues, weather conditions, or unexpected complications, so planning and material readiness are essential for timely completion.
Overview of Tile Installation Time Factors
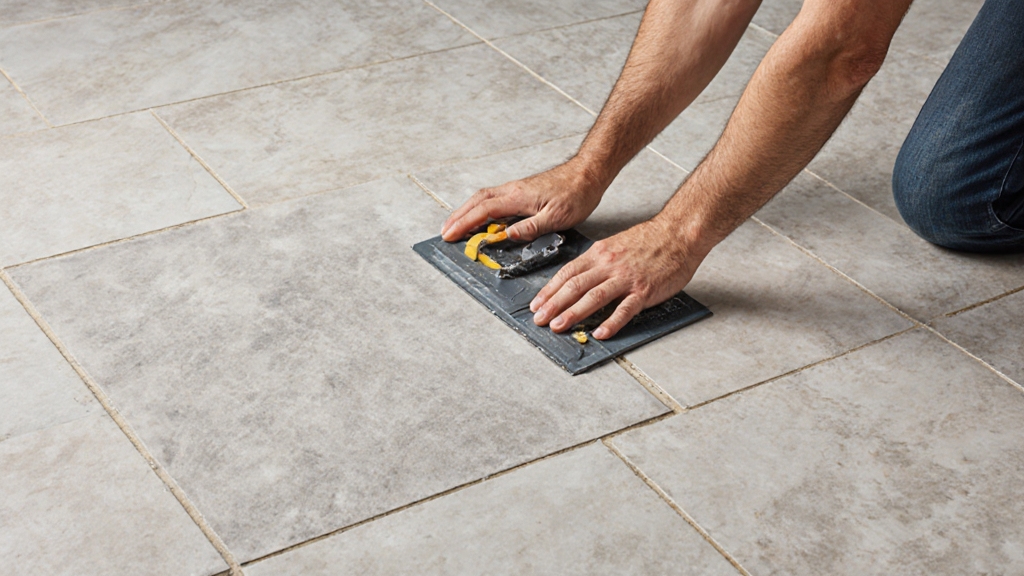
When you’re planning a tile installation, understanding the time factors involved can make a big difference in your project timeline. Various installation techniques can greatly influence how long the job takes.
For instance, a straightforward layout like straight-set may require less time compared to more intricate patterns, such as herringbone or diagonal layouts.
Additionally, the size of your tiles plays a role; larger tiles can speed up the process, but they may need more precise cutting.
Larger tiles can expedite installation, but they often require careful and precise cutting for a flawless finish.
Don’t forget about tile maintenance; if you’re using grout that needs to cure for a specific time, this can delay your project completion.
You’ll also want to factor in the drying time for adhesives and sealants, as rushing through these steps can lead to issues down the road.
How Big Is Your Installation Area?
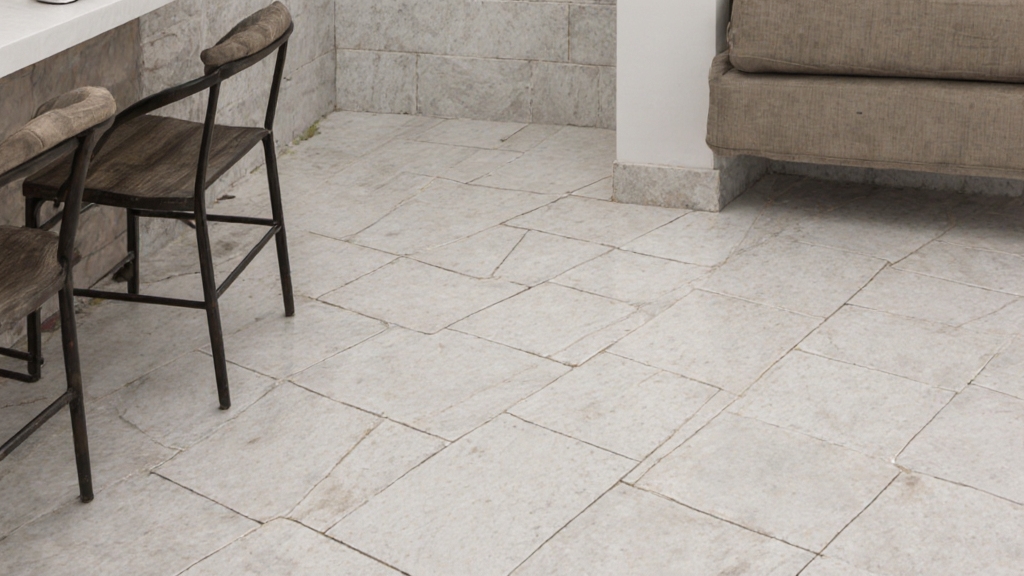
The size of your installation area plays a vital role in how long the tile installation will take.
Larger rooms might require more time, especially if the layout is complex or if you’re tackling multiple spaces.
Understanding these factors will help you better estimate your project timeline.
Room Size Impact
Room size plays an essential role in determining how long your tile installation will take. Larger rooms typically require more time because they involve more tiles, which means you’ll need to use more installation tools.
The room layout also impacts installation time; for instance, a straightforward rectangular space will generally be quicker to tile than a room with many corners or alcoves.
When calculating your installation timeline, consider how many square feet you’re working with. If you’re tiling a small bathroom, the process might only take a day.
However, for a spacious living room, you may need several days. Keep these factors in mind to set realistic expectations for your project’s duration.
Layout Complexity Factors
Although you mightn’t realize it, the complexity of your tile layout can greatly influence the installation timeline. If you’re opting for intricate installation patterns, like herringbone or diagonal designs, expect the process to take longer. These layouts require more precise measurements and cuts, which can add time to your project.
On the other hand, straightforward designs, such as straight-set or grid layouts, are quicker to install.
When planning your tile layout, consider the size and shape of your installation area. Irregular spaces can complicate the process, requiring additional adjustments and cuts.
Multi-Room Considerations
When you’re planning a tile installation across multiple rooms, the size of your installation area plays an essential role in determining how long the project will take. Larger spaces require more tiles and often more time for multi-room coordination.
You’ll need to take into account installation logistics, like how to manage materials and tools across different rooms efficiently. If your home has an open floor plan, it might streamline the process, but distinct rooms can complicate the layout.
Make certain to measure each space accurately and factor in any shifts between rooms, as these can add time. Overall, understanding your installation area helps set realistic expectations for the timeline and guarantees a smoother, more organized installation experience.
Choosing the Right Tile Type for Your Space
Choosing the right tile type for your space can greatly impact both aesthetics and functionality.
Selecting the appropriate tile for your area significantly influences both its visual appeal and practical use.
With so many tile design options available, it’s essential to evaluate your specific needs. Here are four important factors to keep in mind:
- Durability: Choose tiles that can withstand wear and tear, especially in high-traffic areas.
- Moisture Resistance: If you’re tiling a bathroom or kitchen, opt for tiles that resist water damage.
- Style and Color: Select tiles that complement your existing decor and enhance your flooring aesthetics.
- Maintenance: Some tiles require more upkeep than others; assess how much time you’re willing to invest.
Is Your Subfloor Ready for Tile Installation?
Before you start laying tile, you need to make sure your subfloor is in good shape.
Check for any damage or unevenness that could affect your installation. Addressing these issues now will save you time and headaches later on.
Assessing Subfloor Condition
To guarantee a successful tile installation, you’ll need to carefully assess the condition of your subfloor.
A thorough evaluation can prevent future issues, so consider these subfloor inspection methods:
- Visual Inspection: Look for cracks, unevenness, or signs of damage.
- Level Testing: Use a level to check for any dips or bulges.
- Moisture Testing Techniques: Test for moisture using a moisture meter to avoid mold growth.
- Sound Test: Tap the subfloor; hollow sounds may indicate weak spots.
Necessary Preparations Before Installation
After evaluating the subfloor’s condition, it’s time to confirm it’s fully prepared for tile installation. Start by following your pre-installation checklist, which should include checking for any cracks or uneven areas. If you find issues, repair them before proceeding.
Next, confirm the subfloor is dry and free from moisture, as this can lead to problems later on. Don’t forget about surface cleaning—remove any dust, dirt, or debris to create a smooth, clean area for tile adhesion.
Additionally, consider the type of underlayment you’ll need, as it can affect the tile’s longevity and performance. By taking these steps, you’ll set yourself up for a successful tile installation that lasts for years to come.
Understanding Simple vs. Complex Tile Layouts
While you might think all tile layouts are created equal, the truth is that simple and complex designs can greatly impact your installation timeline.
Simple layouts, like straight or grid patterns, typically require less time and skill. In contrast, complex patterns—such as herringbone or diagonal designs—demand more planning and precision.
Here are some key factors to evaluate:
- Preparation Time: Simple layouts need minimal prep, while complex patterns may require extensive planning.
- Cutting: Simple tiles often require fewer cuts, whereas complex patterns can lead to waste and extra cutting.
- Installation Skill: Simple layouts are easier for DIYers, but complex patterns may need professional expertise.
- Grout Lines: More intricate designs often mean more grout lines, which can add to your installation time.
Understanding these differences can help you choose the right layout for your project and budget your time effectively.
How Tile Selection and Size Affect Installation Time
When you choose tile, size and material can greatly influence your installation time.
Larger tiles may seem quicker to lay, but they often require more precise cuts and adjustments.
Additionally, the complexity of your design plays an essential role in how long the entire process will take.
Tile Size Impact
Choosing the right tile size can greatly influence your installation timeline.
When considering tile dimensions, keep these factors in mind:
- Larger Tiles: They cover more area quickly, reducing the number of pieces to install, which can speed up the process.
- Smaller Tiles: These require more grout lines and precise cuts, often leading to longer installation times.
- Tile Weight: Heavier tiles can be trickier to handle, requiring more care during installation, which may slow you down.
- Layout Complexity: Larger tiles often need fewer cuts, while smaller tiles can demand intricate patterns or layouts, affecting the overall time commitment.
Material Type Considerations
The type of material you select for your tiles can greatly impact the installation process and timeline. Ceramic tiles are generally easier to handle and cut, making installation quicker. On the other hand, porcelain tiles, while durable and water-resistant, can require more effort due to their density and hardness. The size of the tiles also plays an essential role; larger tiles often mean fewer grout lines, but they can be more challenging to align correctly.
| Tile Type | Installation Time |
| Ceramic Tiles | Shorter |
| Porcelain Tiles | Longer |
| Small Tiles | Longer |
| Large Tiles | Shorter |
Choosing the right tile material and size can streamline your installation process considerably.
Design Complexity Factors
Tile selection and size play a significant role in determining the complexity of your design, which directly influences installation time.
When considering design trends and tile patterns, keep these factors in mind:
- Tile Size: Larger tiles can mean fewer grout lines, but they require more precision during installation.
- Tile Patterns: Complex patterns, like herringbone or diagonal layouts, take longer to install than simple straight patterns.
- Material Type: Certain materials, like porcelain, may require specialized tools, affecting the timeline.
- Preparation Work: If your floor needs extensive leveling or repair, it’ll add to the installation time.
DIY vs. Professional Installation: Which Is Right for You?
Are you considering whether to tackle your floor tile installation yourself or hire a professional? Weighing the DIY challenges against the professional benefits is essential in making your decision.
If you’re handy and have experience with home improvement projects, DIY installation can save you money and offer a sense of accomplishment. However, be prepared for potential challenges like uneven surfaces or intricate patterns that can complicate your work.
DIY tile installation can save money and provide satisfaction, but be ready for challenges like uneven surfaces and complex patterns.
On the other hand, hiring a professional brings expertise, ensuring a flawless finish and saving you time. Professionals know the ins and outs of tile installation, from proper measurements to effective adhesive application. They also have access to specialized tools that can make the job easier and faster.
Ultimately, consider your skills, budget, and the complexity of the project. Do you want to invest your time and effort, or would you prefer a hassle-free experience?
Essential Tools and Materials for Tile Installation
Choosing between DIY and professional installation sets the stage for what you’ll need regarding tools and materials.
If you’re tackling the project yourself, having the right tools can make a significant difference in your success. Here’s a quick list of essentials you’ll want to gather:
- Tile Cutter: A reliable tile cutter is essential for making precise cuts to fit your tiles perfectly.
- Grout Float: This tool helps in applying grout smoothly and evenly, guaranteeing a professional finish.
- Notched Trowel: Use this for spreading adhesive on the floor, allowing for proper tile adhesion.
- Level: A level guarantees your tiles are laid evenly, preventing any unsightly bumps.
With these tools in hand, you’ll be well-prepared to start your tile installation project, whether you’re going the DIY route or just want to understand what professionals use.
Happy tiling!
Preparing Your Space for Tile Installation
Before you start installing tile, you need to prepare your space properly.
Clear the area of any furniture and debris, gather all your necessary tools, and assess the condition of your subfloor.
Taking these steps will guarantee a smoother installation process and better results.
Clear the Area
To guarantee a smooth tile installation process, clearing the area is essential. Proper floor preparation and area organization help you avoid unnecessary delays. Here’s how to get started:
- Remove Furniture: Take out any furniture, rugs, or decorations to create an open space.
- Clear the Floor: Sweep and vacuum the area to eliminate dust and debris, ensuring a clean surface.
- Check for Damage: Inspect the subfloor for any issues that need fixing before laying tiles.
- Establish a Layout: Plan your tile layout by marking guidelines, which will help with alignment during installation.
Gather Necessary Tools
Gathering the right tools is essential for a successful tile installation, and having everything on hand can save you time and frustration.
Start with basic tool selection: you’ll need a tile cutter, trowel, level, spacers, and a grout float. Don’t forget safety gear like gloves and goggles.
Before you begin, check your tools for any necessary maintenance; ensuring they’re in good condition can make a big difference in your efficiency. Clean blades and properly functioning equipment will help you achieve smooth cuts and even tile placement.
By preparing your tools ahead of time, you’ll set yourself up for a seamless installation process and avoid unnecessary delays.
Get ready to transform your space with confidence!
Assess Subfloor Condition
Evaluating the condition of your subfloor is essential for a successful tile installation. A solid foundation guarantees your tiles last longer and resist damage.
Here are four key factors to check:
- Subfloor Materials: Identify if your subfloor is plywood, cement board, or another material; each has specific requirements for tile installation.
- Moisture Levels: Test for moisture using a moisture meter; excessive moisture can lead to mold and tile failure.
- Level Surface: Use a level to confirm your subfloor is even; any dips or bumps can cause tiles to crack.
- Integrity Check: Inspect for squeaks or soft spots, indicating potential issues that need addressing before you proceed.
Taking these steps will set you up for a successful tile installation.
Typical Timeline for DIY Tile Installation
When you tackle a DIY tile installation, understanding the typical timeline can help you plan effectively and avoid frustration. Generally, you can expect the entire process to take about two to three days, depending on the area size and your experience level. Here’s a breakdown of the timeline:
| Task | Estimated Time |
| Planning & Tile Layout | 1-2 hours |
| Surface Preparation | 2-4 hours |
| Tile Installation | 4-8 hours |
| Grouting & Cleaning | 2-4 hours |
| Curing Time (24-48 hours) | 1-2 days |
Keep in mind these installation tips: measure accurately, lay out your tiles beforehand to visualize the tile layout, and work methodically. This will help guarantee that your project goes smoothly and looks great in the end.
Professional Installation Time: What to Expect?
If you’re considering hiring a professional for your tile installation, you can expect a more streamlined process compared to a DIY approach.
With professional expertise on your side, the project won’t only be faster but also more efficient.
Here’s what you can generally expect regarding time management:
- Consultation: Expect about 1-2 hours for an initial assessment and design discussion.
- Preparation: Allow 1-2 days for any necessary prep work, such as removing old flooring and leveling the surface.
- Installation: The actual tile installation usually takes 1-3 days, depending on the size of the area and tile type.
- Finishing Touches: After installation, expect another day for grouting and sealing.
Steps in the Tile Installation Process
Understanding the steps in the tile installation process can make a significant difference in how smoothly your project goes.
First, you’ll need to prepare the surface by guaranteeing it’s clean, level, and dry. Next, choose your tile patterns; whether it’s a classic grid or a more intricate design, planning your layout ahead of time saves you from mistakes.
Prepare your surface well and plan your tile layout to avoid costly mistakes.
After that, select the right adhesive types for your tiles. Thin-set mortar works well for most installations, while epoxy is great for wet areas.
Once you’ve got your materials ready, it’s time to start laying the tiles. Begin at the center of your room and work your way out, using spacers to guarantee even gaps.
After placing the tiles, let the adhesive cure according to the manufacturer’s instructions.
Finally, you’ll be ready for the next steps, which involve grouting and sealing, to complete your beautiful new floor.
Grouting and Sealing: How It Affects Your Timeline
Grouting and sealing are essential steps that can considerably impact your installation timeline. Here’s what you need to know:
1. Grout Types: The type of grout you choose—whether it’s sanded, unsanded, or epoxy—can affect drying time.
Epoxy grout, for instance, typically sets quicker but may require more precision during application.
2. Application Process: Properly applying grout involves spreading, cleaning, and allowing it to cure.
Rushing this process can lead to uneven surfaces.
3. Sealing Techniques: After grouting, sealing your grout is critical to protect it from stains and moisture.
Choose between penetrating and membrane-forming sealers based on your tile’s needs.
4. Curing Time: Waiting for the grout and sealant to cure properly is essential; this can add days to your timeline, depending on the products used.
What to Expect During the Curing Process?
After applying grout and sealing it, you’ll enter the curing phase, which is critical for guaranteeing the durability of your tile installation.
During this time, you’ll need to pay close attention to moisture control. The curing duration typically lasts about 72 hours, but this can vary depending on the specific products you used.
It’s essential to keep the area well-ventilated and maintain a stable temperature to facilitate proper curing.
Avoid heavy foot traffic and any water exposure during this period, as it can compromise the integrity of the grout.
You might notice that the grout color changes slightly as it cures; this is normal.
If you’re unsure about the curing process, check the manufacturer’s guidelines for specific recommendations.
Unforeseen Issues That Might Delay Installation
While you might’ve a clear timeline for your tile installation, unforeseen issues can arise that delay the process.
These unexpected complications often stem from various factors that you may not have anticipated. Here are four common issues that could impact your installation schedule:
- Subfloor Problems: If your subfloor isn’t level or shows signs of damage, it can require repairs before tiling begins.
- Material Delays: Sometimes, the tile or adhesive you ordered mightn’t arrive on time, forcing you to wait.
- Weather Impacts: Inclement weather can delay installation, especially if you’re working in an open area or need ventilation.
- Unexpected Discoveries: You might uncover plumbing or electrical issues behind walls that need immediate attention.
Being prepared for these potential delays can help you stay on track with your project.
Common Delays to Watch Out For
When planning your tile installation, it’s important to keep an eye out for common delays that can disrupt your timeline. Two of the most frequent issues are delayed shipments and unpredictable weather conditions.
| Delay Type | Description | Potential Impact |
| Delayed Shipments | Materials arriving late can halt progress. | Extended installation time. |
| Weather Conditions | Rain or extreme temperatures can impede work. | Possible rescheduling. |
These delays can affect not just the schedule but also your budget. For instance, if tiles are stuck in transit, you might find yourself waiting longer than expected. Similarly, if rain is in the forecast, it may force you to pause outdoor work, leading to frustration. By being aware of these potential delays, you can better prepare and adjust your plans accordingly.
Tips for a Smooth and Timely Installation Experience
To guarantee a smooth and timely tile installation, start by creating a detailed plan that outlines each step of the process. This will help you stay organized and minimize delays.
Here are some tips to contemplate:
- Choose the Right Tile: Select tiles that fit your style and budget, while also reflecting on installation costs.
- Prepare the Subfloor: Verify your subfloor is clean, level, and dry to prevent future issues.
- Gather Tools and Materials: Have all necessary tools and materials ready before starting, so you won’t waste time searching mid-installation.
- Follow Tile Maintenance Tips: Proper care after installation will keep your tiles looking great and reduce long-term costs.
Frequently Asked Questions
Can I Walk on the Tiles Immediately After Installation?
You shouldn’t walk on the tiles immediately after installation. Tile curing takes time, typically 24 to 48 hours, depending on the adhesive used, so wait to guarantee a proper bond and avoid damage.
How Do I Choose a Grout Color for My Tiles?
To choose a grout color, consider your tile aesthetics. You can match it to your tiles for a seamless look or contrast for a bold statement. Always test samples to see how they complement each other.
Will Furniture Placement Affect the Tile Installation Time?
Yes, furniture placement can affect tile installation time. By planning your layout and removing furniture beforehand, you’ll streamline the process, allowing the installers to work efficiently without interruptions or obstacles.
What Maintenance Is Required After Tile Installation?
After tile installation, you’ll need a regular cleaning schedule to maintain its appearance. Consider sealing options for added protection against stains. Regularly sweep and mop to keep your tiles looking fresh and vibrant.
Can I Install Tile Over Existing Flooring?
Yes, you can install tile over existing flooring, but first, do a flooring compatibility check. If it’s suitable, skip the tile removal process. Verify the surface is clean and level for the best results.
Final Thoughts
Floor tile installation timelines can vary, but most delays come down to preparation and planning—subfloor repairs, tile availability, layout complexity, and proper curing time. When you account for each phase (prep, installation, grouting, and cure), you can set realistic expectations and avoid surprises. The best way to keep your project on schedule is to start with a solid plan, the right materials, and an installer who follows the correct steps without rushing the details that protect your floor long-term.
If you want an accurate timeline based on your space, tile choice, and layout, Atlanta Tile Installer can help—from planning to a clean, professional finish with reliable scheduling. Learn more about flooring installation in Atlanta or explore full tile installation in Atlanta.
Ready to get started? Request a quote or schedule your installation through the contact page, call 678-719-4859, or email admin@atlantatileinstall.com.